Thursday, February 25, 2016

Nursery Decor Checklist

Morning!
I shared this post a bit ago on Positively Oakes 
and thought I'd share it again on here.
ENJOY!
+++

I put my little guy's nursery together when I was about 6 months pregnant.
It turned out perfect in my eyes.
BUT... 
then we moved, and upon moving into an apartment with new space and white walls, 
I have since discovered items my baby just absolutely NEEDS in his space.
(Yes ladies, you can tell your husbands these things are needs.)

If you have not yet begun creating a fabulous space for your little,
it is true, 
you do need things like linens, a cute throw blanket, curtains, a fancy rug, framed pics, etc. 
So I suppose you can start there. 

But this is the FUN part!

Here are the absolute (wink, wink)
N E C C E S S E T I E S 
for decor in a nursery or kids room...


one ::: SHAPED PILLOWS
Cloud shaped, heart shaped, star shaped, animal shaped, whatever! Add some spunk with layering of shaped pillows on the rocking chair! I love this hello pillow from laura frisk.

two ::: CUSTOM ART
Custom artwork is really just special. It makes the little ones feel AMAZING to see their name actually printed on something in a frame! Check out the customizable girl from almost noelle (boys available too!)

three ::: MODERN DREAM CATCHER
No need to give up the tribal trend yet, throw in a dream catcher in the baby's room to catch their attention & add some fancy decor! It will be fun to talk to them about what dream catchers do when they get older. This modern raincloud dream catcher from golden bee shop is the bomb. Or make your own!

four ::: A TEEPEE
Is this not the childhood dream!? This is the perfect little play area, and it folds right up for easy storing! I might have to invest in this feather teepee from tnees tpees for my babe's first birthday.

five ::: AMIGURUMI (aka crocheted plushies)
I bet you didn't know these cute animals had a fancy name! Now you have to get one, or three, or seven. I love mister sweater rabbit from rosieok and this shop is stocked with many more cute animals!

six ::: WALL (or door) DECALS
I love the triangle or polka dot decals that can go right on the wall for a minimalist look. Upon searching for them I found haru the happy bear door decal from made of sundays. The options for vinyl cutouts in a kiddo's room are endless!

seven ::: FELT BALL POM GARLAND
I can't seem to get over my obsession of wool ball felt garland. I have a black, white, and gray garland headed my way for my little guy's room, but think I should probably just invest in a garland for each room-or wall. (am I right!?) There are so many beautiful garlands that can be created. I love the coral nursery garland from sheep farm felt. Plus, this shop has some fab color combinations!


See?
You need them all, right? 
And bonus, all of these come from great handmade shops so there are many more options
for colors, shapes, and sizes available! And bonus bonus, usually handmade shops customize so really, you can create the absolute perfect room for your little loved one.

xo__lauryn

Saturday, November 15, 2014

black, white, and gray nursery

I've been pretty excited to share this post with you all.
My little guy is almost 5 months old now. 
They really do grow so fast!
While I was pregnant we got his nursery all set for his arrival.
I was totally set on doing a woodland theme with an orange brown and mint then had a complete change of heart and thought a black and white nursery would be awesome!
I had my ideas drawn out on a piece of paper and made it come to life.


I wanted this room to be absolutely perfect. 
I had my sights set out for very specific details.
The crib and changing table were ordered from Downeast. I wanted to keep the colors neutral, yet add a little contrast to the black and white.  


A good majority of my shopping came from the beloved Target! Baby's sheets, gray blanket, banner, and diaper box were all found at that gem of a store.


I designed all of the prints in the room. A few of them as well as other fun prints can be downloaded instantly at my shop Never Navie.


This awesome mobile was not originally installed in the little guy's room. However, when he began to be more interested in pictures, objects, etc. We thought it would be a fun addition...and it SO has been! He loves it! The wee gallery art cards are the pictures clipped in the mobile. They come in a themed box of animals and they have been a fabulous investment.


and of course some babylit books for our book loving boy.


My favorite part about the entire nursery is the chalkboard wall. It has definitely been more of a thrill for me than for the babe. :) My mom sewed the pillow for me and I painted the canvases. Baby loves the black, white, and gray canvases. He giggles and coos at them when he is supposed to be feeding or sleeping. Such distractions!


I had so much fun putting this nursery together. The black and white is so much fun for the baby and I am so glad we chose it! I can put the teeny one in his crib and he just laughs and giggles at the banner and pictures. Way too much fun!
Happy Saturday!

Monday, August 20, 2012

wooden photo blocks

this summer i salvaged some wooden block remnants from grandpa's firewood stash.
i knew something good could come out of them.
after having them in my car for a few weeks, 
i brought them inside.
after staring at blank blocks for a good few days,
i nailed it.
i decided i was going to make wooden blocks saying "LOVE"
well...
here they are.


turns out i didn't want to do "LOVE" blocks.
i kinda just messed around until i came out with these picture blocks.


i had a beautiful paper pack.
i cut each of the papers to the size of the blocks and spray glued them on.
i antiqued the edges with a chalk stamp pad & mod podged the top.

the elements (rose, ticket, etc.) were also part of the scrapbook pack.
darling stuff i tell ya.


the clothes pins are hot glued to the block.
i added a strip of paper to cover the pin.
the pictures are interchangeable because of the clothes pins.
saweet!

here i wrapped the block with yarn.. just a simple embellishment.


although i imagined something different, 
i am glad with how the blocks turned out!
they are a great way to use up your cute scrapbook paper..
ya know the kind you are saving because you know you want it displayed, 
you just don't know how to display it!
(i could be the only crazy person who does that...)


have a great day!
schools are starting for me today.
back at the university tomorrow, 
and welcoming the little preschoolers to their first day of school.
a crazy, but exciting day for me!
also, 
little sissy is getting MARRIED! 
& i am in charge of planning.

so thank you for being understanding & patient with me
during this fast paced time of life.

{love} lauryn

Monday, July 16, 2012

oh, honey!

i'm having a favorite shape of the week.
i love these hexagons!
especially in interior design.
those mirrors, the fabulous shelves, the pictures!
so pretty, so retro... so 60's.
oh yeah.
oh, honey


hellooo, honey.

Wednesday, June 6, 2012

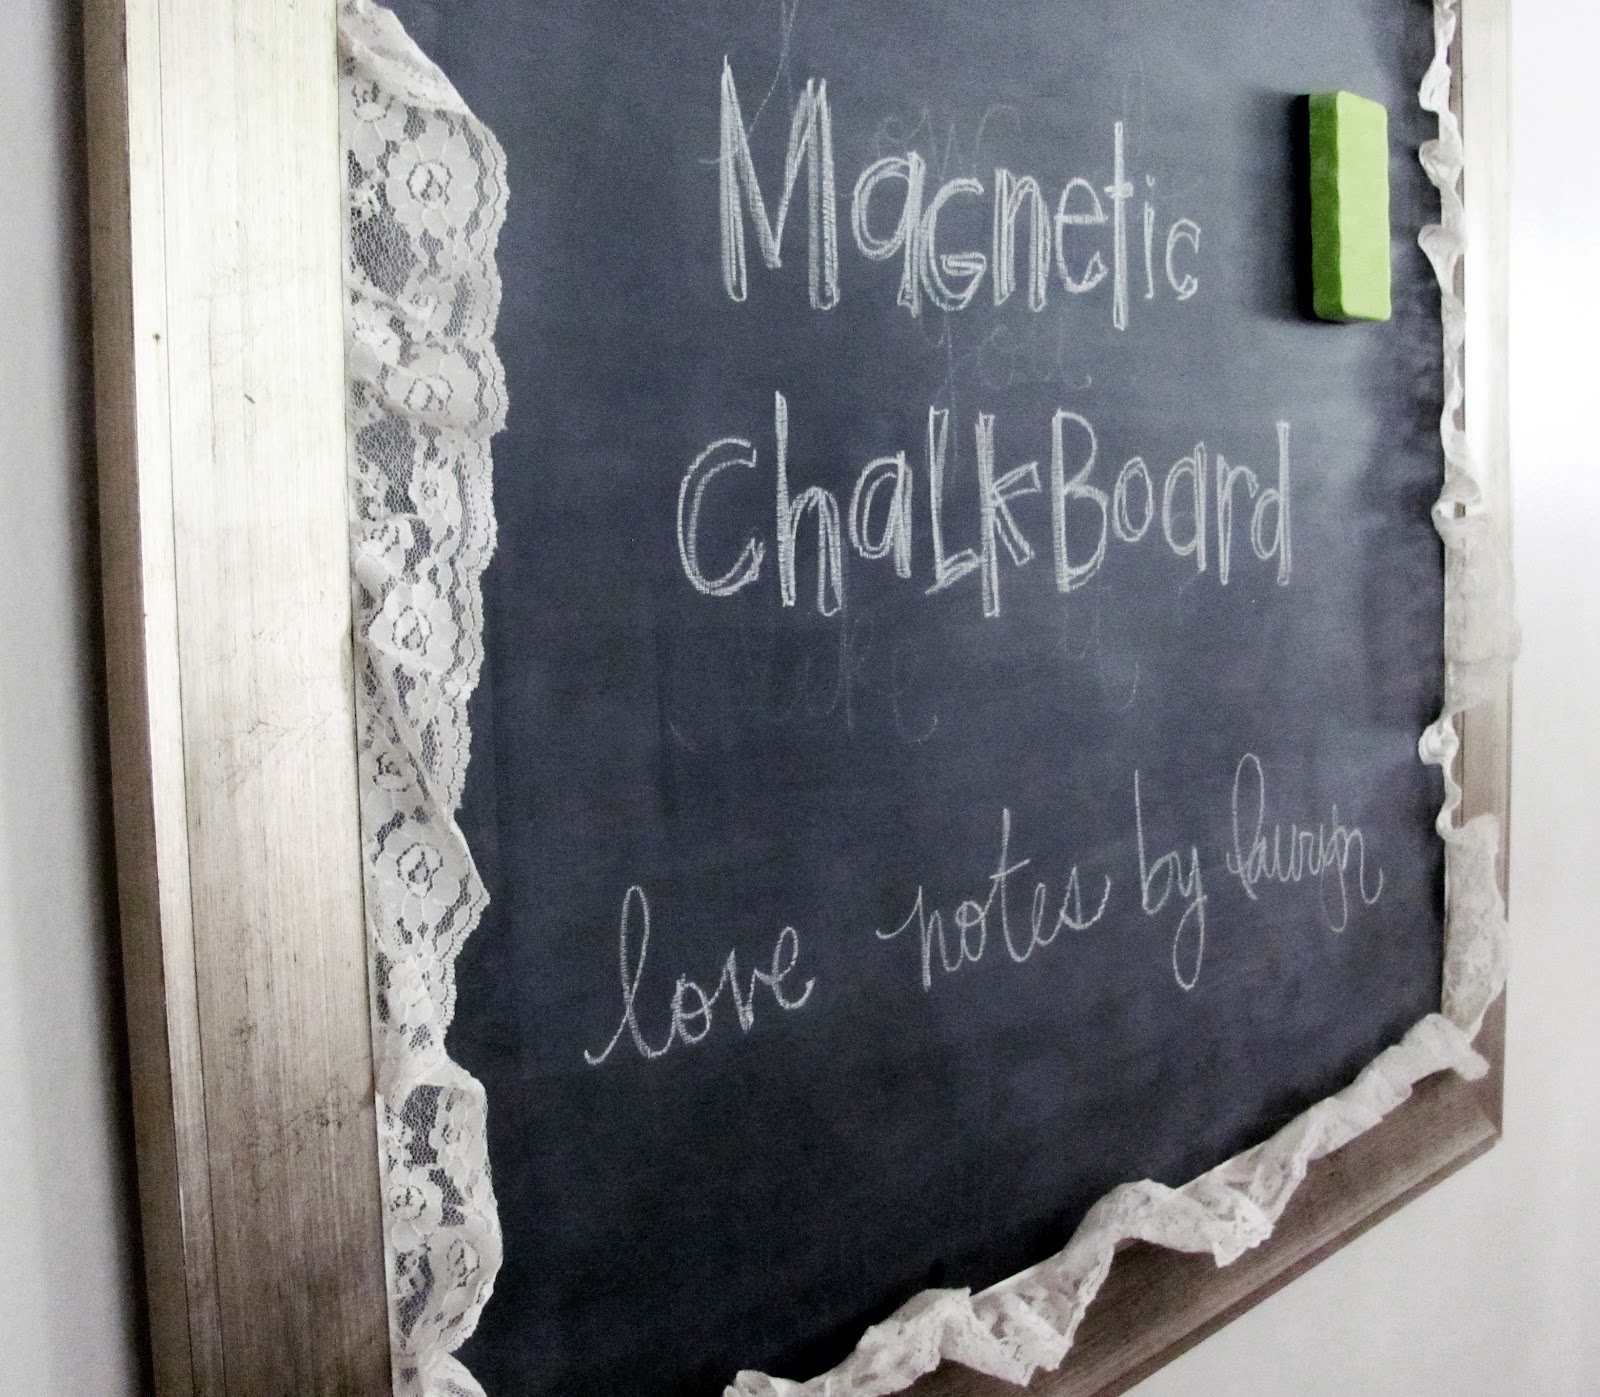
magnetic chalkboard tutorial-how to paint with chalkboard paint

so today's post is kind of a tutorial within a tutorial. i am showing you my most recent project:
a magnetic chalkboard

while also giving detailed instructions of how to effectively use chalkboard paint.
so let's begin!
you will need a piece of sheet metal & chalkboard paint.
super great tip #1: buy sheet metal at a home improvement store like lowe's or home depot.
you can find sheet metal in the air circulation & ventilation aisle for around $9.
yes! a steal. 
super great tip #2: sometimes it is easier just to buy things. i thought about making homemade chalkboard paint, but by the time i bought all the supplies, i would be spending about the same amount or more money than the real stuff.
the paint i bought costed me about $2 at hobby lobby. it was listed at $3.99 and i used a 40% off coupon. saved myself some time & probably money too.
Americana Brush-On Chalkboard Paint
(the edges are taped for safety. they can get sharp, so BE CAREFUL!)

now here's for the tutorial within the tutorial
to apply the chalkboard paint effectively follow these steps:
1. apply a think coat of paint all going same direction (say you choose vertically). let the coat dry completely.

2. when the coat is completely dry, apply another thick coat, this time going the opposite direction (now you would go horizontal). let the coat dry completely.

3. apply the third and last coat of paint going the same direction as you started (vertically). you will have all areas covered.

4. after the third coat has dried, let the chalkboard paint sit for 24 hours untouched. i know. it is so tempting to draw on that beautiful surface. but don't do it! after 24 hours has passed, cure the chalkboard surface. this is done by rubbing chalk across the whole board trying to cover all areas completely.

5. erase the chalk you used to cure, this sort of creates a chalk mess.
and you are done with your chalkboard painting!

to finish the magnetic chalkboard here's what i did.
i used an old frame we had from an outdated sailboat picture.
i am sure you could find one at a thrift store easy.
i removed the picture and used the mat as a back for my sheet metal.
with E600 glue, i glued the sheet metal to the mat from the picture.
it would have been nicer to use the cardboard backing, but my sheet metal was too small for my frame, so i wanted the white to show through rather than cardboard.

i added lace with a hot glue gun around the edges of the board.

then secured it all in the frame:

here it is in our basement with all the stuff on it and bad lighting unfortunately.

i love the fact that this board is magnetic & a chalkboard as well.
have a great thursday, 
come back tomorrow for a ladyhue giveaway!!
yaay!

Thursday, May 10, 2012

license plate love tutorial

good morning all! and happy thursday.
today i am sharing with you a license plate home decor item.
i'm really excited about it. 
i have been saving this tutorial for awhile waiting til finals were over so i could cover all the details.

with the hubby and i moving from utah to idaho and back to utah
PLUS buying a new car in the mix, 
we had a LOT of license plates. i thought i really needed to put them to use.
so, a while ago, i went to my pop's house with an idea in mind that he helped me create.
here is the finished product:

it really was so simple to make.
& with the help of dad i was able to get it done super quickly.

you will need some old license plates.
don't be afraid to mix numbers in for letters or turn a W upside down to make an M.
i used a number 1 to make an "L" and a 3 upside down to make an "E"
turned out pretty cute!
you will also need tin snips or a sharp box knife
a drill & drill bits
as well as a hammer & small nails
a metal file for safe measure,
and a piece of wood to be the backer.

first step: cut out your letters.

here's a tip: i do NOT recommend using the tin snips.
and here's why:
the edges are much more crisp and clean when using the box cutter 
because you can use a 'snap' technique.

with the tin snips, the edges become slightly jaggedy:

so i recommend you use a ruler to draw a straight line,

follow the line with a box cutter to score the plate,

then bend at the scored piece back and forth 

until the piece is ready to snap off.
you will get a crisp, clean edge.

use the metal file to smooth any jagged edges.
please oh please wear gloves for this part. :)

i also rounded my edges for safety & for looks:

when you have finished every piece, 
align them on your backing how you would like.
you may want to mark the places of the letters on the wood with a pencil.
i used an AWESOME piece of barn wood my dad had in the garage.

drill small holes in each corner of the letters

add the nails to each corner

and hammer in

do this to each of the letters and you're finished!

what do you think?
i still have extra license plates and need some ideas to use them.
any cute ways to recycle license plates?
let me know in the comments section!
{love} lauryn
Related Posts Plugin for WordPress, Blogger...

Design by | SweetElectric